Saturday, April 28, 2012

Worlds End

in Burra Creek Gorge Reserve
Yesterday after my morning work shift and way before the evening work shift would begin, I went out with an artist friend to go paint at a place called Burra Creek Gorge.  It was about an hours drive from where I met her in Kapunda, and it was an easy drive on country roads at good speed.  Passing through towns of Eudunda, Points Pass, and Roberstown on our way.  Weather was cloudy, with a few light rain drizzle spells.  We found the gorge, which is also known as Worlds End Gorge.  There, a peaceful area awaited, with beautiful old river red gum trees of immense size and a burbling creek, with a bit of water.  It must be gorgeous when the water level is higher, as there would be nice reflections of the scene in the water then.  The gorge is a camping ground, when we we got there, there was only one party camped out.  We saw them checking a yabbie cage at the creek's edge.  We also saw a pair of hikers come by.  Other than that it was peaceful and serene, with just bird song and burbly creek sounds.

My easel, paints, backpack & the scenery
I painted a small scene on the only blank canvas I could find that morning.  But really it was more about the experience than about the result.  I am new still at painting landscapes on location, so this was a good practice.  I used my french box easel and oils, on my dinky canvas.  I have a bucket with all paint mediums and supplies, and some shallow box trays for holding tubes of paints.  I picked out colours I wanted, and took them in a bag and a short walk to the creek edge had me setting up.

Close up of
painted gum tree detail
I decided to paint a lovely old gum tree.  I have never painted gum trees before and it is amazing how many shapes and colours are found on their bark.  Believe it or not, I used a small tube of lilac paint to mix in with some sienna and umber colour plus white to make soft and subtle greys.  I had read that lilac was good for mixing complex greys, and it was  very effective.  I also had an indigo colour and thought I might not use so much of it.  But to my surprise, it was fab mixed with sap green and green gold to make bluer greens for foliage in shadows, and also for shadows in the grassy reeds in the foreground.

Later, after finishing painting, the weather got to be a bit partly sunny and the light changed, as sunshine filtered through the tree canopy.  I will definitely go back and paint again, on a sunnier day, so I can enjoy the light's effect.


This was a most peaceful way to spend the day.

Friday, April 20, 2012

Getting the Hang of It

Completed painting of quinces.
I have been working a lot and also resting up after travels.  Just started some painting again.  Today I went over to Salon Rouge Gallery in Kapunda and I painted some quinces from life that gallery owner Jacqueline Coates had put on the bench top (counter top).  They are beautiful fruit with their characteristic lumpy and uneven shapes, in gorgeous colours of yellow, pale green, golden ochre, and more.  The quinces I painted had stems on them and leaves too.

sketch in thin oils
and gum turps
I painted the quinces from life in oils on canvas and in an alla prima style, (done in a single setting).  It's a good way to get a whole painting done in a day or single painting session.  And it requires you to make decisions and just get on with things.  This is a useful and keeps the painting from being minutely overworked.
the subject

First the composition is put onto the canvas, using some thin oil paint (thinned with pure gum turps).

Then the subject is enhanced and an underpainting done, using brush and thinned oil paints.

underpainting
When the underpainting is done and the subject now on the canvas, I started working to put thicker oil painting on the canvas, using oil paints and a palette knife.


Its done !  


 I have never painted quinces before...so it was a new subject for me.  Painting in this impasto oils method is something I am beginning to get the hang of.  I am happy with the result though.  Right now it is drying on an easel.  This will take about 2 weeks, then we can find a place to put the new painting.

Saturday, April 7, 2012

Happy Easter

Charming vintage Easter postcards with spring Easter  chick motifs
 from USA, ca. 1910s, 

To all who celebrate it, Happy Easter.  To others, hope you enjoy the image and also the beginning of a new season (spring, or autumn--depending which hemisphere you are in !)

Friday, April 6, 2012

Old Red Bricks

New pathway of Old Red Bricks
While I have been away on business travel, Ian has completed the old red brick pathway.  It looks AMAZING !!!

Why old red bricks ?  Well, old red bricks are better than new red bricks.  First, they are solid, no holes in them.  Second, they are more interesting colours and shades.  Yes, you can get new bricks in a variety of colours, but the character of the old red bricks is hard to beat.  They just look so good.

we got the three palettes
 in the centre stack
About 6 weeks ago we went to  a salvage yard in Adelaide and picked out some old red bricks for the pathway at edge of our patio/pergola pavers and around side and front of the shed.   Ian knew we needed three palettes of 500 each, a total of 1500 bricks.  We picked out the bricks in the centre column shown in this photo.  Probably removed from some old house that was demolished.  Old bricks cost a bit more than new ones we learned.  We paid for them and organised our local freight company to come get them for us and bring them to the Barossa.

old narrow steps
being re done in brick
Ian started first on the horrible concrete steps in front of the shed.  They were so narrow in depth, neither of us could step onto them, except maybe placing our foot sideways.  They had to go.  We still needed steps though, so it took a fair bit of effort to engineer new ones with a better and more friendly design.  The design brief was that a mens size 12 or 13 shoe needs to fit on them !  Doing the steps, Ian went through a lot of garden gloves, because the lime used ate through them.  Not the fun part of the job, but probably good to get out of the way early on.

a mens size 12 or 13 shoe fits
on the new steps now !
Then he had to use the jackhammer to remove the old concrete pathway.  He also re-did the edges of the pathway for the bricks, making it a very neat finish.  Eventually it was time to lay the bricks.  The path was not level and in fact we wanted it to drain water away from the house anyway.  And we used the pathway design to remove a couple little step levels that were untidy in the old concrete (and maybe not safe either, someone could trip on them !).  He resolved this by creating a flowing paved surface, that also drained any rain water to run away from the house or into storm drains.  There were nearly enough bricks to go around the back of the shed too, and the part they wouldn't cover has a small run of pavers we used under the patio.  A very tidy job indeed.
Before:  concrete or dirt pathways
Time to get out the jackhammer !

After:
Old Red Brick pathway looks amazing


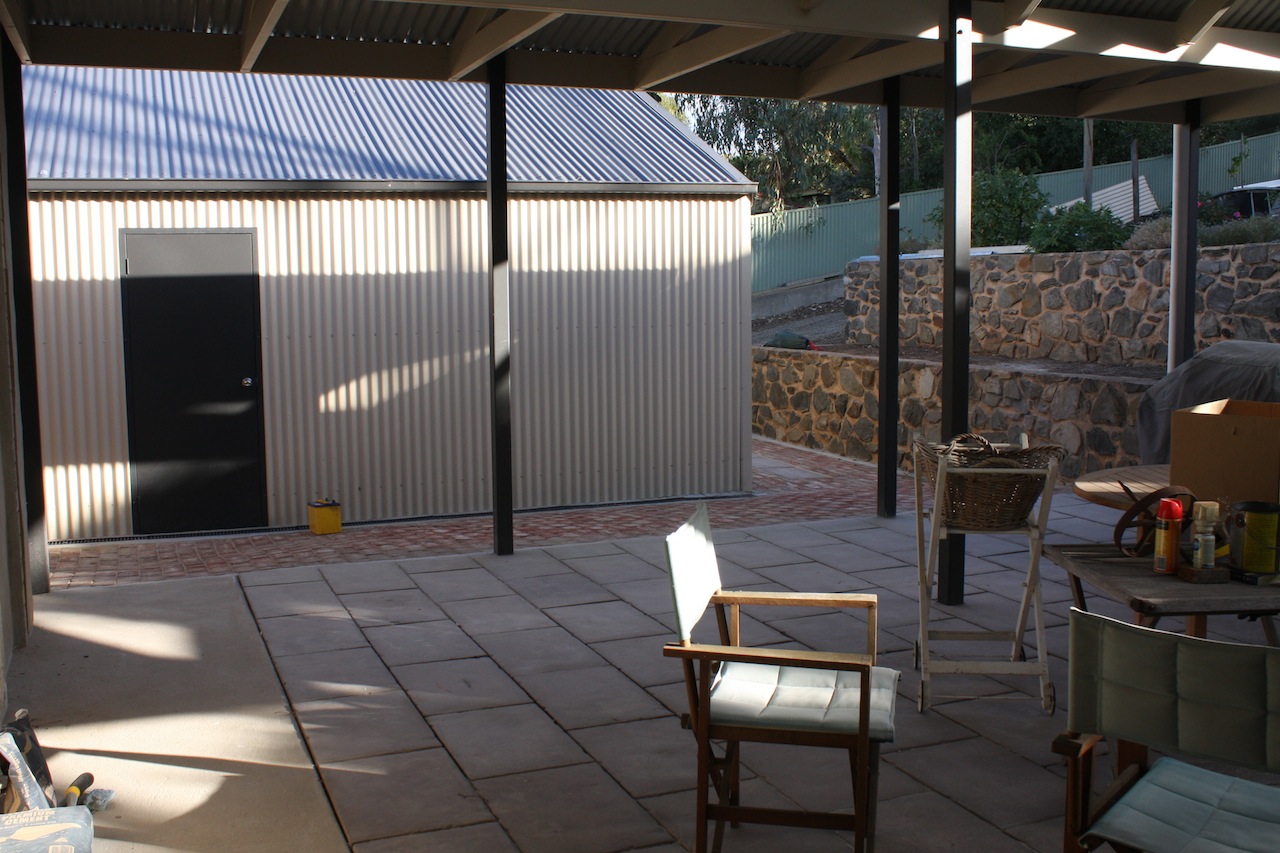
A very stylish pathway with room now for the BBQ 


I returned home to see the bricks in place, just packing sand and concrete mix to be swept and watered in between them.  This week weather has been good and that job is now finished.  It looks superb !  I really love how it all finishes off the outdoor space so well, big improvement over what was there before, or over nothing between the pavers and shed.  The old red bricks really look excellent next to the pavers, the corrugated iron Colourbond shed,  the retaining walls and stone walls of the house.  Ian even had a few "antique" old scottish bricks in his workshop and he has placed them in the mix too.

an antique scottish brick
with imprinted text


And now the pathway and paving is all in place, we can BBQ out there !!!!