
 My debut Jam Making project is now in the bag, or perhaps better to say it's in the jars ! The project was bold and ambitious, using the ancient looking (and quite rusty) very vintage Fowlers Vacola steriliser pan and assorted accessories that I found at an op shop (second hand, thrift shop) for $10 on Saturday (see previous post, just below). With quite a few bowls of ripe fruit sitting on the kitchen island, I needed to make some swift decisions on how to use fruit.
I chose red plums for the jam making, because they were just so good, with ruby red flesh and I had enough of them to make up a batch of jam. The recipe called for 2 kilos of fruit, and I weighed it out, finding that 53 of the plums would do the job. I spent the evening Saturday halving then stoning plums and cutting up the fruit. That took nearly 2 hours, including clean up. I had very stained finger tips ! Then mixing it with 1.25 kilos of sugar, to sit overnight (covered, at room temperature). Had to split this into two bowls, because even my largest bowls could not hold all that much cut up plums and sugar.

The next morning, I tipped the bowls into a large stock pot, to begin cooking it. Ian helped me clean the steriliser pot. I had all the bottles washed and rinsed and ready to get sterilised, along with lids and rings. Because the steriliser was so old, it was a bit rusty inside, even after Ian scrubbed it with steel wool and then rinsed it. We decided we would need a second cleaner boiling water rinse stage for the sterilised bottles, so we prepared a second large pan to boil water in for this. I also prepared a couple baking trays with clean utensils: tongs, spoons, ladles, large spoons. Plus a pile of clean tea towels and bar mops. And I popped some small china saucers into the freezer for testing jam setting later on. Ian brought in the big steriliser pot and also brought in water to fill it, in a garden watering can. It took 2 and a half to fill to the right level. And we started the stove under it, because he said it would take nearly an hour to bring to boil (and that was about right). Before it boiled, I put in the jars. They would need 10 minutes in boiling water to sterilise.


I got the fruit and sugar going in the stock pot, bringing it to a boil too. Tipped in some fresh lemon juice. By this time it was a stunning deep red colour and the kitchen smelled wonderful. And simmered/boiled it to setting point. Along the way, it reduced in the pan a bit, and still looked great. I continued to "skim" foam off the surface. That and some of the jam syrup got sampled and tasked very good. It took much longer than I thought it would to get to a setting point. The recipe suggested at least 25 minutes. But setting stage did not seem to be approached until after 45 at least. I am a novice at the various methods to test setting and my old thermometer did not seem to be accurate (it wasn't right at boiling water temp, so why would it be right at jam setting temp ?). So I used the cold dishes out of the freezer. Eventually decided to call it done. And in turn one by one, like recommended in the guide on preserving, took the jars our of their soiling water bath, we rinsed them in the second boiling water bath, and they dried in a second (held by tongs) and we filled them. I used a ladle, but can see why I will want a wide neck funnel instead. The ladle was an awkward way to do this, but it did work. Each jar was sealed up with a lid and then a ring, and set back in the boiling water bath. They got "processed" for 5 minutes, which is the time called for by the definitive guide on food preserving, the USDA Complete Guide to Home Canning. (link takes you to the first guide, but there are several volumes and excellent guidance throughout about how to preserve or can food safely). We filled four 500 ml bottles and half of one more with the jam, which we will use right away.
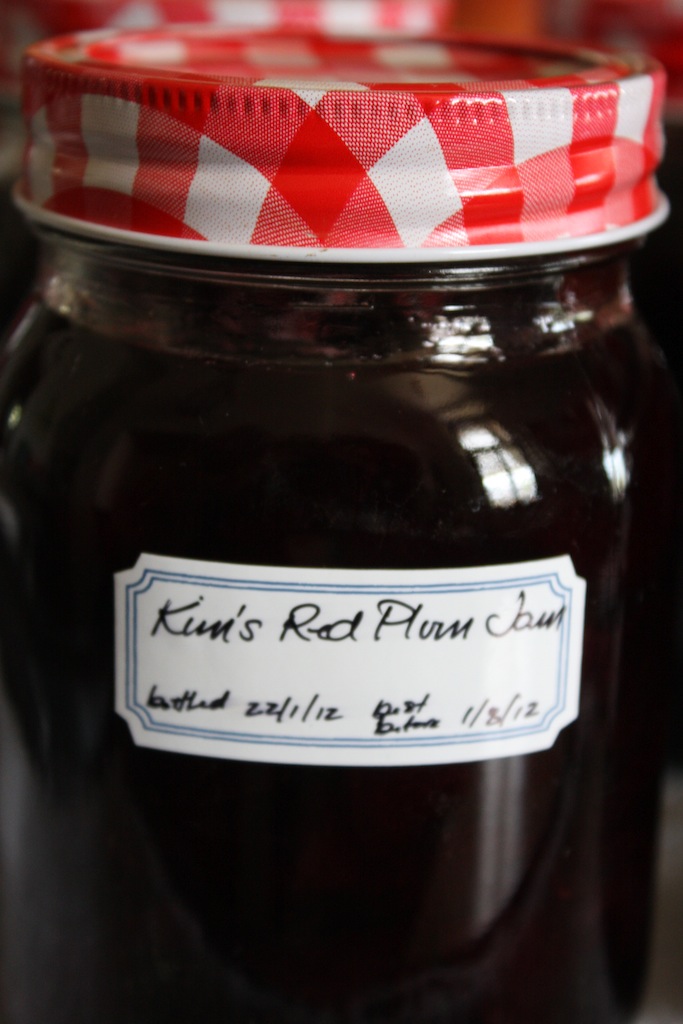
Eventually, when the jars cooled enough to remove from the hot water, they cooled and each lid "popped" as the jar sealed. When they cooled completely, I put small labels on them. Kim's Red Plum Jam. With bottling date and also a use by/best before date of 6 months hence. By evening, I was not sure if the jam had set, but the part full jar in the fridge seemed to have congealed and glommed up in a way one expects proper jam to behave. So common sense around here declared the batch good.
But, really, one must try the jam to know for sure. So this morning, Ian got up and tried it on his toast. And said it was very very good, maybe the best jam he had ever had--very sweet praise indeed. Even though jam is not exactly on my current diet regime, I had a small piece of toast and a small bit of the red plum jam on it, to try it too. And it was Really Good !! Wow !

So, we are declaring victory here, this first batch of jam has been very successful. I am not sure it will last until end of July though ;)
PS: I have promised Ian that I will procure a proper modern stainless steel pan and put a rack in bottom for my jar sterilising and jam processing--before the next batch gets under way. The old rusty and green vintage one will become a prop in one of my interior styling vignettes...


No comments:
Post a Comment