 |
| New pathway of Old Red Bricks |
While I have been away on business travel, Ian has completed the old red brick pathway. It looks AMAZING !!!
Why old red bricks ? Well, old red bricks are better than new red bricks. First, they are solid, no holes in them. Second, they are more interesting colours and shades. Yes, you can get new bricks in a variety of colours, but the character of the old red bricks is hard to beat. They just look so good.
 |
we got the three palettes
in the centre stack |
About 6 weeks ago we went to a salvage yard in Adelaide and picked out some old red bricks for the pathway at edge of our patio/pergola pavers and around side and front of the shed. Ian knew we needed three palettes of 500 each, a total of 1500 bricks. We picked out the bricks in the centre column shown in this photo. Probably removed from some old house that was demolished. Old bricks cost a bit more than new ones we learned. We paid for them and organised our local freight company to come get them for us and bring them to the Barossa.
 |
old narrow steps
being re done in brick |
Ian started first on the horrible concrete steps in front of the shed. They were so narrow in depth, neither of us could step onto them, except maybe placing our foot sideways. They had to go. We still needed steps though, so it took a fair bit of effort to engineer new ones with a better and more friendly design. The design brief was that a mens size 12 or 13 shoe needs to fit on them ! Doing the steps, Ian went through a lot of garden gloves, because the lime used ate through them. Not the fun part of the job, but probably good to get out of the way early on.
 |
a mens size 12 or 13 shoe fits
on the new steps now ! |
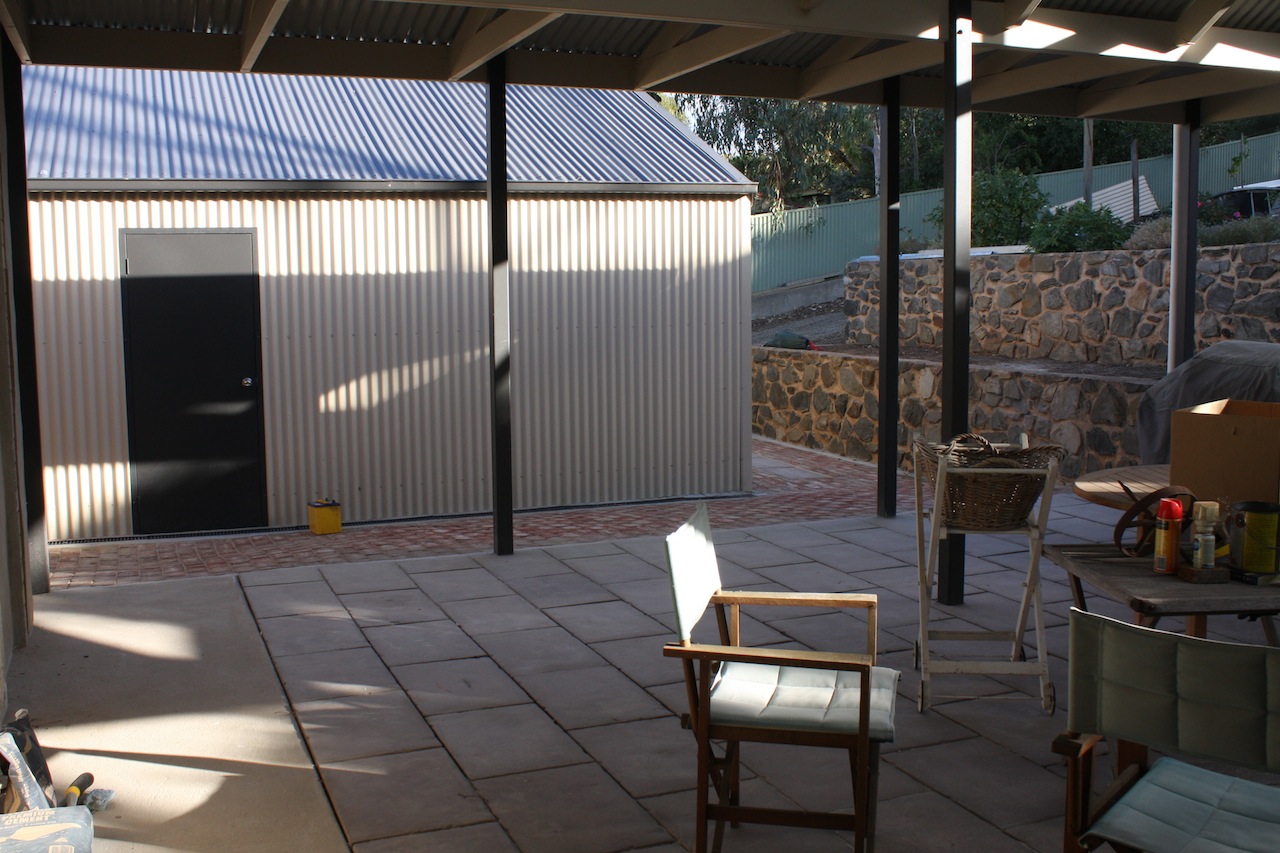
Then he had to use the jackhammer to remove the old concrete pathway. He also re-did the edges of the pathway for the bricks, making it a very neat finish. Eventually it was time to lay the bricks. The path was not level and in fact we wanted it to drain water away from the house anyway. And we used the pathway design to remove a couple little step levels that were untidy in the old concrete (and maybe not safe either, someone could trip on them !). He resolved this by creating a flowing paved surface, that also drained any rain water to run away from the house or into storm drains. There were nearly enough bricks to go around the back of the shed too, and the part they wouldn't cover has a small run of pavers we used under the patio. A very tidy job indeed.
 |
Before: concrete or dirt pathways
Time to get out the jackhammer ! |
 |
After:
Old Red Brick pathway looks amazing |
 |
| A very stylish pathway with room now for the BBQ |
I returned home to see the bricks in place, just packing sand and concrete mix to be swept and watered in between them. This week weather has been good and that job is now finished. It looks superb ! I really love how it all finishes off the outdoor space so well, big improvement over what was there before, or over nothing between the pavers and shed. The old red bricks really look excellent next to the pavers, the corrugated iron Colourbond shed, the retaining walls and stone walls of the house. Ian even had a few "antique" old scottish bricks in his workshop and he has placed them in the mix too.
 |
an antique scottish brick
with imprinted text |
And now the pathway and paving is all in place, we can BBQ out there !!!!




 Posts
Posts


